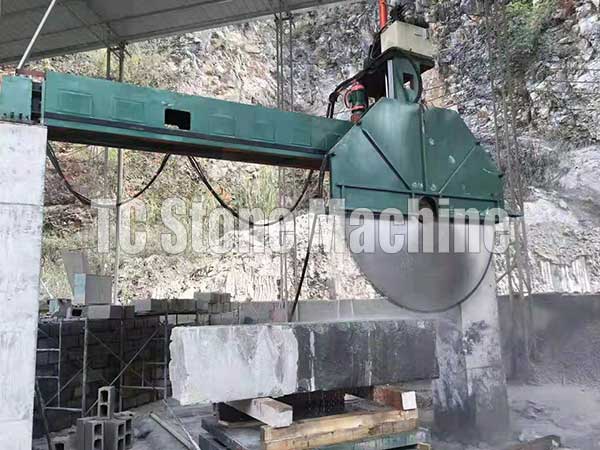
Tile Miter Tool
Tile Miter Tool: Achieving Seamless and Professional-Looking Edges in Your Tile Work
Tile work is a popular home improvement project that can add style and value to any space. Whether you're tiling a floor, backsplash, or shower, achieving a seamless and professional-looking edge can be challenging. Luckily, using a tile miter tool can make the job easier and help you achieve a flawless finish. In this article, we'll discuss the benefits of a tile miter tool and how it can help you in your tiling projects.What is a Tile Miter Tool?
A tile miter tool is a handheld device that is specifically designed to help create clean, precise miter cuts on tiles. It works by gripping the tile securely and holding it at the correct angle while you cut. The tool typically has a guide that can be adjusted to different degrees, allowing you to create various angles for your cuts.
Benefits of Using a Tile Miter Tool
Using a tile miter tool can provide several benefits for your tile work, including:Precise Cuts
One of the most significant benefits of using a tile miter tool is that it makes precise cuts. The tool helps you create straight and clean cuts, ensuring a seamless and professional-looking finish.Time-Saving
Tiling is a time-consuming task, and making precise cuts manually can add hours to your project. By using a tile miter tool, you can complete your project more quickly, as the tool does most of the work for you.
Reduced Waste
When making cuts manually, mistakes are inevitable, and you often have to discard the tile and start over. Using a tile miter tool reduces waste by ensuring accurate cuts on the first try.Versatility
A tile miter tool can also create a variety of angles and cuts, making it a versatile tool for different tiling projects. Whether you're working with ceramic, porcelain, or stone tiles, a tile miter tool can help you achieve a perfect finish.How to Use a Tile Miter Tool
To use a tile miter tool, follow these steps:- Step 1: Measure and mark the tile where you want to make your cut.
- Step 2: Adjust the guide on the tile miter tool to the required angle.
- Step 3: Place the tile in the miter tool and secure it in place.
- Step 4: Use a tile cutter or saw to make your cut.
Choosing the Right Tile Miter Tool
There are several tile miter tools available on the market, and choosing the right one can make a significant difference in the success of your project. Consider the following when selecting a tile miter tool:- Tile thickness: Make sure the tool can handle the thickness of your tiles.
- Angle range: Ensure the tool has the range of angles you need for your project.
- Quality: Look for a durable and well-made tool to ensure it lasts through multiple projects.
In Conclusion
Using a tile miter tool can make a significant difference in the quality and efficiency of your tiling projects. Precise cuts, time-saving, reduced waste, and versatility are just a few of the many benefits you can experience. When selecting a tool, consider the thickness of your tiles, the angle range you need, and the quality of the tool. With the right tile miter tool in hand, you can achieve a seamless and professional-looking finish in no time.Request for Quotation
[contact-form-7 id="59" title="Contact form 1"]


