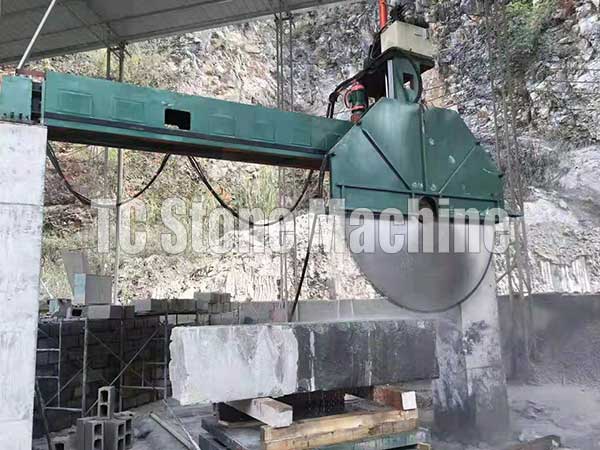
Metal Tile Trim Cutter
Metal Tile Trim Cutter: A Must-Have Tool For Your Tiling Projects
If you are into DIY tiling projects or professional tile installation, you know how important it is to have the right tools to ensure a flawless finish. The metal tile trim cutter is an essential tool you must have in your arsenal. It saves you time, effort, and money, making your tile cutting and installation easier, faster, and more precise. In this article, we'll explore what a metal tile trim cutter is, its benefits, and how to use one.
What is a Metal Tile Trim Cutter?
A metal tile trim cutter is a handheld, manual tool used to cut metal trim for tile edging or finishing. It is designed to cut through aluminum, brass, or stainless steel metal trims with a width of up to 90mm. The tool's sharp blade is made of hardened steel for precise cutting and long-lasting use. It is ergonomically designed with soft-grip handles for comfortable use, even for prolonged periods.
Benefits of Using a Metal Tile Trim Cutter
Using a metal tile trim cutter offers several benefits, including:Precision Cutting
With a metal tile trim cutter, you can make precise cuts quickly and efficiently, ensuring that your metal trims fit perfectly to the tile's edge, giving a professional finish. The tool's sharp blade and cutting mechanism minimize mistakes and reduce wastage of metal trim.Time and Effort Saving
Cutting metal trims manually or with the wrong tool can be time-consuming, tiring, and may require multiple cuts to get the perfect fit. With a metal tile trim cutter, you can cut your trims in one clean cut, saving you time and effort, and making your work easier.
Cost-Effective
Using a metal tile trim cutter saves you money by reducing the wastage of metal trim due to inaccurate cutting, which means you can reuse the remaining metal trim for other projects, reducing the need to buy new ones.
How to Use a Metal Tile Trim Cutter
Using a metal tile trim cutter is easy and doesn't require any specialized training. Here's a step-by-step guide on how to use one:Step 1: Measure the Trim
Measure the length of the metal trim you want to cut using a tape measure.Step 2: Adjust the Cutter Blade
Open the metal tile trim cutter jaws and adjust the blade to the required width to accommodate the metal trim's thickness.Step 3: Align the Trim
Place the metal trim on the cutter's jaws with the cutting line in line with the cutter blade. Ensure that the metal trim is firmly held and level.
Step 4: Cut the Trim
Gently but firmly squeeze the handles to cut the metal trim through the blade. The blade's sharpness will determine how smooth the cut will be.Step 5: Smooth the Cut
Use a tile file or sandpaper to smooth the cut edge of the metal trim.Maintenance of Your Metal Tile Trim Cutter
Proper maintenance of your metal tile trim cutter ensures its longevity and efficiency. Here are some maintenance tips:Cleaning
Wipe off any dirt or debris after use with a cloth or brush. You can also use WD-40 to clean and lubricate your metal trim cutter's moving parts.Storage
Store your metal tile trim cutter in a dry place, away from moisture, to prevent rusting.Blade Replacement
Replace the cutter blade when it becomes dull or damaged. You can order a replacement blade from the manufacturer or a reputable supplier.Conclusion
A metal tile trim cutter is an essential tool for any DIY or professional tiling project. It offers precision cutting, saves you time and effort, and is cost-effective in the long run. Using a metal tile trim cutter is easy, and proper maintenance ensures its longevity and efficiency. Get yourself a metal tile trim cutter, and take your tile installation projects to the next level.Request for Quotation
[contact-form-7 id="59" title="Contact form 1"]


