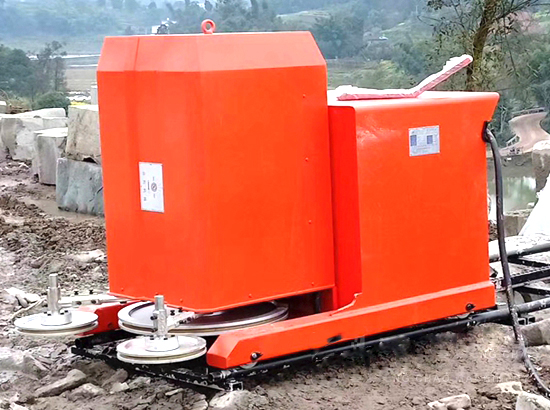
Ceiling Tile Cutter
Cutting Ceiling Tiles Made Easy with a Ceiling Tile Cutter
If you're looking to renovate your home or office, changing the ceiling tiles could be one of the easiest and most cost-effective ways to give the place a new look. However, cutting ceiling tiles can be a difficult task without the right tools. That's where a ceiling tile cutter comes in handy. In this article, we'll explore the benefits of using a ceiling tile cutter and how to use one effectively.What is a Ceiling Tile Cutter?
A ceiling tile cutter is a tool used to cut ceiling tiles to the required size and shape. The cutter has a sharp blade that can make precise cuts without cracking or breaking the tiles. This tool is a must-have for DIY enthusiasts, contractors, and homeowners looking to renovate their space.Benefits of Using a Ceiling Tile Cutter
Using a ceiling tile cutter has several benefits compared to using other traditional methods such as a saw. Some of these benefits include:Quick and Easy
A ceiling tile cutter can cut through ceiling tiles quickly and easily. This tool can cut a tile in half with just one swipe, making it an efficient tool for large projects.Accurate
A ceiling tile cutter ensures that tiles are cut to the exact size and shape needed. You can quickly adjust the cutter to fit the desired size, and the blade will make a precise cut ensuring the tile fits perfectly.Clean Cuts
 With a ceiling tile cutter, you can achieve clean cuts without cracking or breaking the tiles. This is not the case when using traditional methods such as saws, which may leave rough edges or cause the tiles to break.
How to Use a Ceiling Tile Cutter
Using a ceiling tile cutter is straightforward, but it requires some practice. Here are the steps to follow when using a ceiling tile cutter.Step 1: Measure the Tile
Measure the tile and mark the cutting line using a pencil or marker.Step 2: Adjust the Cutter
Adjust the blade of the tile cutter to fit the size of the tile. Set the blade to the correct depth to ensure a clean cut.
Step 3: Place the Tile on the Cutter
Place the tile on the cutter, with the cutting line aligned with the blade.Step 4: Make the Cut
Push down the handle of the cutter to make the cut. Ensure that you use a firm and steady motion to ensure a clean cut.Step 5: Check the Cut
Check the cut to ensure that it's clean and free of cracks or rough edges.
Cleaning and Maintenance
After each use, it's essential to clean and maintain the ceiling tile cutter to ensure it's in good working condition. You can follow these simple steps to clean and maintain your tile cutter:Clean the Blade
Clean the blade of the cutter after each use using a soft cloth or brush. Ensure that the blade is free of dust and debris that may affect its performance.Lubricate the Blade
Lubricate the blade of the cutter with a few drops of oil to prevent rust and improve its performance.Store in a Safe Place
Store the ceiling tile cutter in a safe and dry place away from moisture and dust.Conclusion
Using a ceiling tile cutter is an easy and efficient way of cutting ceiling tiles. It saves you time and ensures that you get precise cuts, making your renovation project a success. Be sure to follow the manufacturer's instructions when using and maintaining the tool, and always wear protective gear such as gloves and safety goggles when working.Request for Quotation
[contact-form-7 id="59" title="Contact form 1"]


